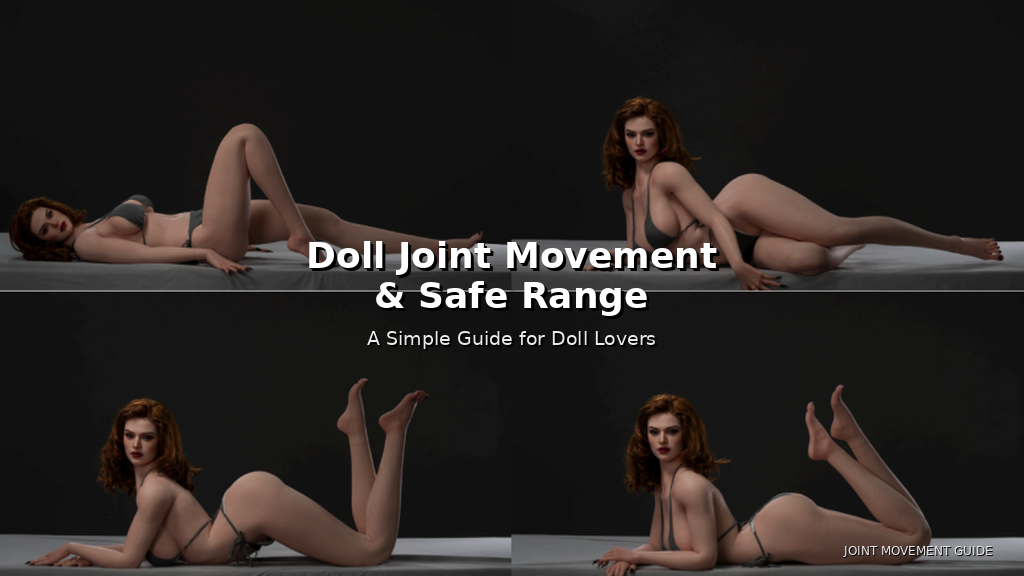
Doll Joint Movement and Safe Range: A Simple Guide for Doll Lovers
Learn how doll joint movement works, including neck, shoulder, arm, wrist, waist, hip, knee, ankle, and safe posing range. This beginner-friendly guide explains how to move each joint carefully, avoid forcing stiff areas, and reduce the risk of skin, joint, or skeleton damage.
1. Introduction
What to know before you start posing
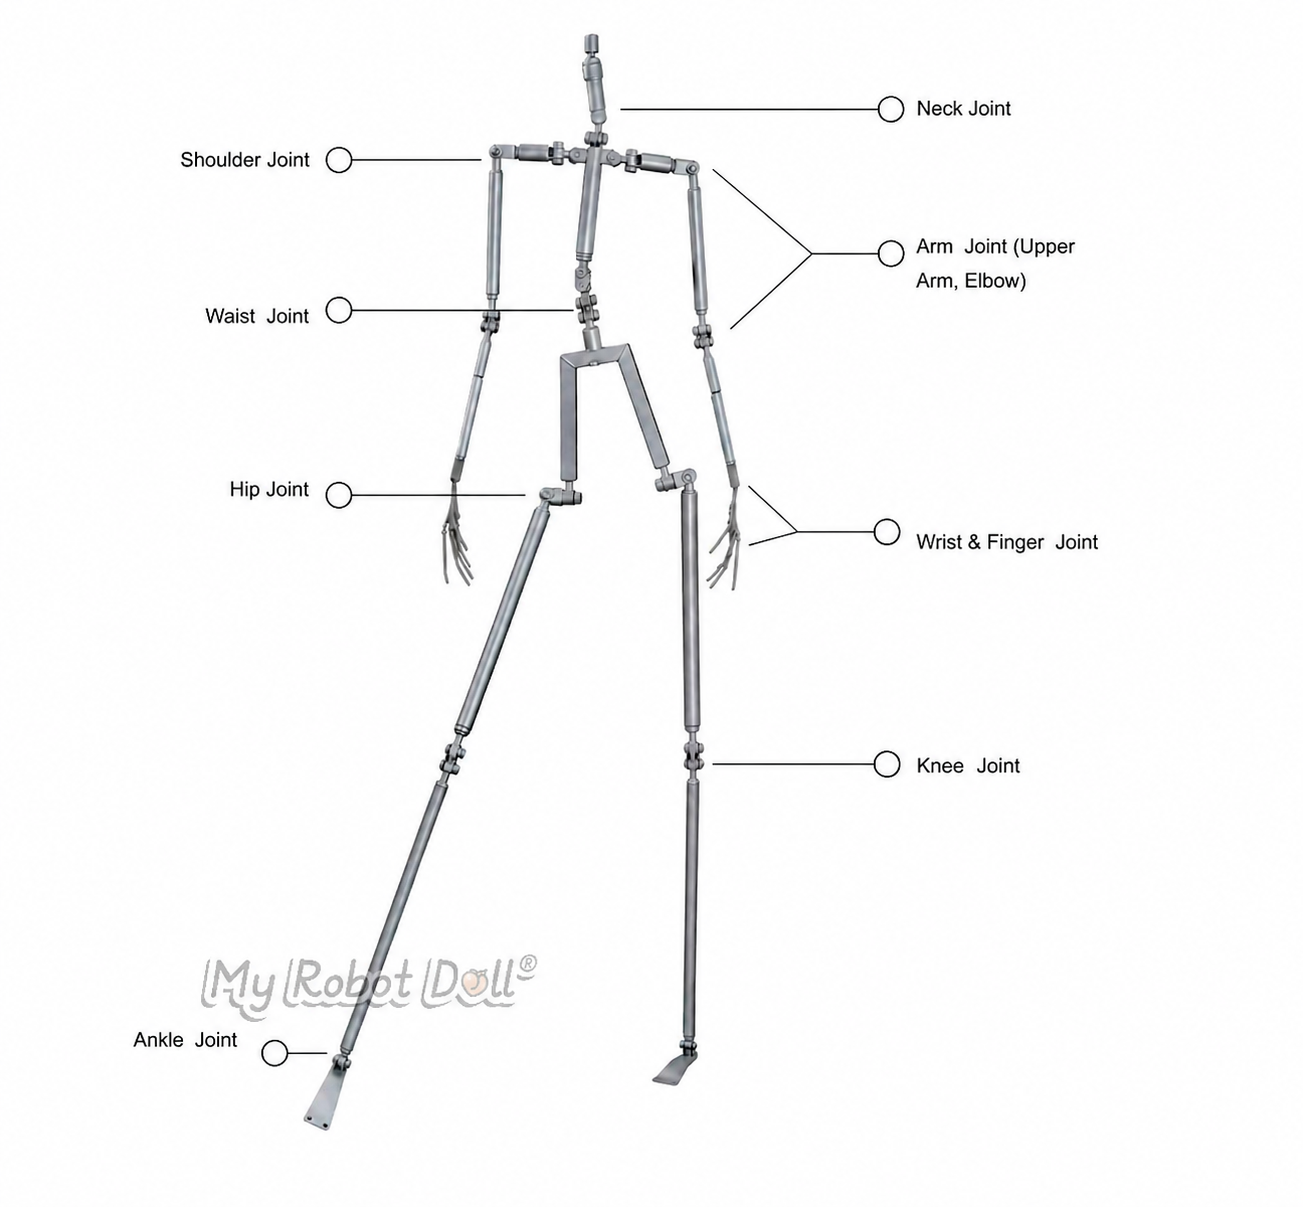
If you’re new to the doll hobby, learning about doll joint movement and safe range is one of the most important first steps. Many dolls have movable joints that help them bend, turn, sit, stand, and hold natural poses.
Understanding how each joint works helps beginners avoid unnecessary pressure on the internal skeleton. When you move with intention — slowly and with proper support — you protect the doll from damage and extend its lifespan significantly.
This guide explains each joint in plain language so you can pose your doll confidently from day one. Each section also has a companion video guide.
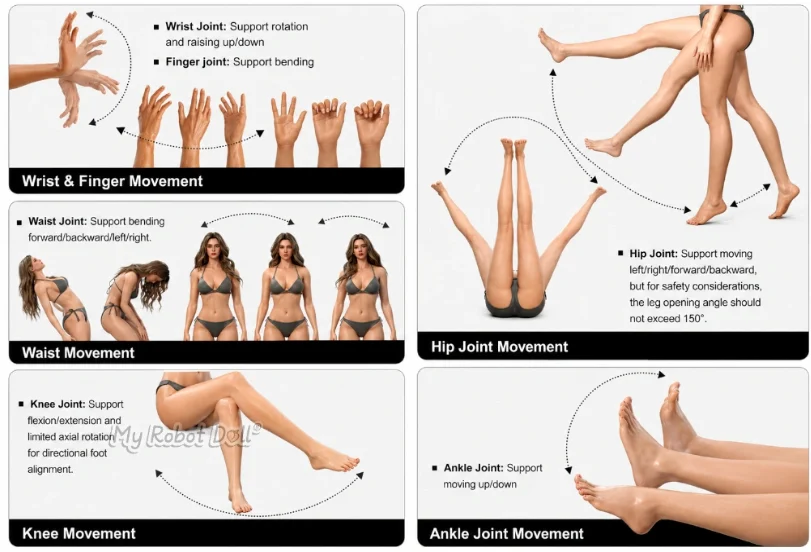
2. Neck Joint
Head direction and facial angle for display
The video demonstrations from this section onward use the Zelex SLE3.0. Depending on the brand, some dolls may have small variations in joint construction, range, or stiffness — but the handling principles shown here apply broadly.
The neck joint allows the head to turn, tilt, or face different directions. Even small adjustments here can completely change the mood of a pose — especially for photography or display setups where facial angle matters.
Move the head slowly and avoid twisting it past its natural stopping point. If your doll has a detachable head, make sure it is seated and secured properly before adjusting the neck. A loose head puts uneven stress on the neck joint with every movement.
3. Shoulder Joint
Arm positioning and upper body reach
The shoulder joint helps the arm move up, down, forward, and slightly outward. This joint is one of the most used when building natural arm poses.
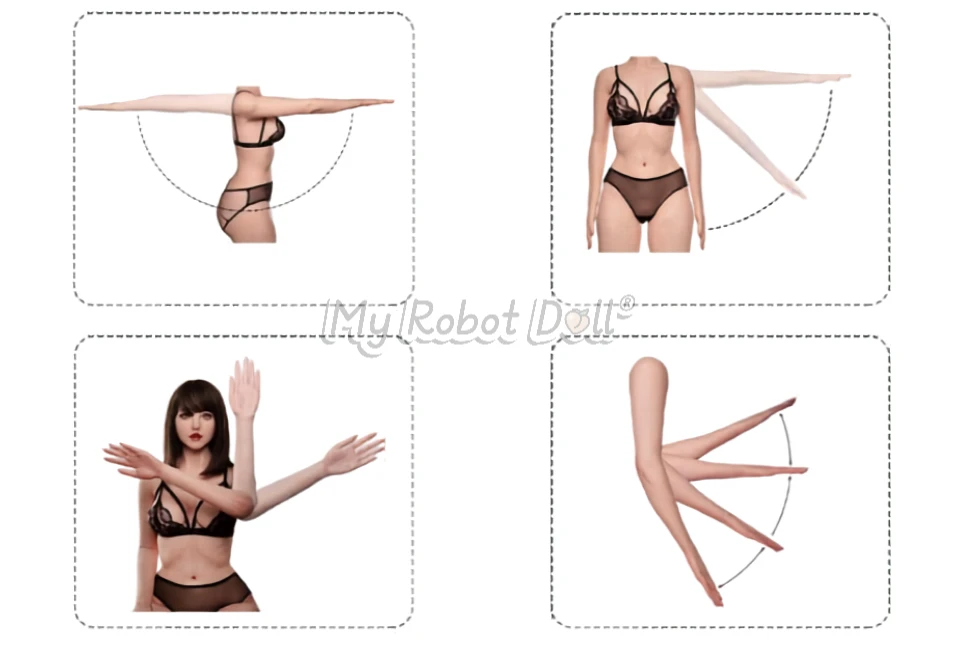
The arm joint supports raising up, down, forward, and backward movement. The upgraded pivot joint design also enables 180-degree lateral rotation, allowing for more natural and expressive movement.
When moving the shoulder, go slowly and support the upper arm with your other hand. Avoid forcing the arm too far behind the body — the shoulder has a rear limit that varies by doll model. If the joint feels stiff or tight, stop immediately and reassess before continuing.
4. Arm Joint
Elbow movement and arm posing
The arm joint covers bending, lifting, and positioning from the upper arm down through the elbow. It works together with the shoulder joint to create full, natural-looking arm positions.
The elbow joint supports flexion as well as left and right swing, giving a wider range of natural movement compared to simpler hinge-style designs. This makes it easier to achieve realistic poses for photography and display.
Always support the area close to the joint when posing — not the hand or wrist end. Avoid sudden or jerky movements, particularly if the joint has not been moved in a while and feels stiff. Warm the material slightly with your hands first if resistance is noticeable.
5. Wrist and Finger Joint
Delicate adjustments for hand positioning
Wrist and finger joints are the smallest and most delicate in the entire doll. They allow the hands and fingers to move into simple expressive positions, but they are also the easiest to accidentally damage.
Never pull or bend the fingers from the tip. Always support the hand at the palm when adjusting the wrist, and work one small movement at a time. If a finger feels like it is catching or resisting, stop — do not push through it.
6. Waist Joint
Bending and leaning for relaxed poses
The waist joint allows the upper body to bend forward or turn slightly to either side. This is especially useful for sitting poses, leaning against a surface, or creating a more relaxed, natural look.
Because the waist connects the upper and lower body, it carries more structural load than most joints. Handle it gently. Small, controlled movements are safest — never twist the waist to an extreme angle in a single motion.
7. Hip Joint
Leg movement and seated positioning
The hip joint controls how the legs move forward, backward, and slightly outward. It is the key joint for seated and standing positions and takes a lot of the doll’s body weight during repositioning.
Always support both the torso and the thigh when adjusting the hips. Never grab and pull from the foot or knee alone — that transfers all the force directly to the hip socket and can cause internal damage over time.
8. Knee Joint
Bending the leg for sitting and kneeling poses
The knee joint allows the leg to bend and straighten, making it essential for seated, kneeling, and crouched positions. It is a hinge-style joint — it bends in one direction only.
Never twist the knee sideways or try to rotate it. That is not how this joint is designed to move, and forcing it sideways can damage the internal frame and reduce joint stability permanently. Move slowly, and if you feel resistance, stop and recheck your angle before continuing.
9. Ankle Joint
Foot positioning and standing balance
The ankle joint controls foot angle for standing and posed positions. It allows gentle bending and slight turning, but it is a smaller joint relative to the load it sometimes carries when the doll is positioned upright.
Avoid putting excessive downward pressure on the ankles when standing the doll. Proper ankle alignment directly affects overall balance — a foot angled even slightly wrong can cause the doll to lean or become unstable. Take your time with this joint, especially when setting up a freestanding pose.
10. Safe Range Tips for Beginners
The ground rules every new owner should know
Safe range means the furthest a joint can travel without risking damage. The simplest rule: if a joint feels tight, stiff, or hard to move — stop. Do not push through resistance. That feeling is the joint telling you it has reached its limit.
Move slowly, use both hands whenever possible, and always support the body near the joint you are adjusting. Avoid holding extreme poses for extended periods — joints under prolonged stress can deform the material over time.
Most doll joints are modeled after real joint mechanics — shoulders and hips move like ball-and-socket joints, while knees and elbows work like hinges. If you’re curious how these work, this overview of ball-and-socket joints is a useful reference.
Once you’re comfortable with posing, it’s worth learning how to properly clean and maintain your doll too. Read our guide on how to care for your doll to keep it in top condition long-term.
11. Final Thoughts
Learning doll joint movement and safe range takes patience, but it becomes easier with practice. Start with small movements, watch the related video guides, and pay attention to how each joint feels.
As a beginner, your goal is not to force perfect poses. Your goal is to move your doll safely, understand its limits, and keep it in good condition for a long time.
Related Zelex SLE3.0 Dolls