

How to Prevent Mold Inside a Love Doll: 7 Easy Cleaning Steps

Learning How to Prevent Mold Inside a Love Doll starts with a logical cleaning routine. Rinse, clean, drain, wipe, absorb, airflow dry, and finish with a final dryness check. These 7 easy cleaning steps show which product to use at each stage.
Why Mold Happens Inside a Love Doll
Mold grows when moisture sits in a closed area for too long. Inside a love doll, moisture may stay hidden after rinsing if the drying step is rushed. Even when the outside looks dry, the inside can still hold dampness.
Residue can make the problem worse because it gives moisture something to cling to. That is why cleaning and drying should always work together. Cleaning removes buildup, while drying removes the water that mold needs to grow.
How to Prevent Mold Inside a Love Doll
How to Prevent Mold Inside a Love Doll is mainly about following the same careful process every time. Start by rinsing the internal area with clean warm water. Then clean away residue, drain extra water, and use proper drying tools to remove hidden moisture.
Many long-term care problems come from moisture and residue left inside. Cleaning removes buildup, but drying prevents trapped dampness. When both steps are done properly, the doll stays fresher and easier to maintain.
Best Cleaning and Drying Routine
The best mold-prevention routine follows a clear order: rinse, clean, drain, surface dry, absorb internal moisture, airflow dry, and check dryness. Each step works best when paired with the right product.
| Step | Product to Use | How to Use It | Why It Helps Prevent Mold |
|---|---|---|---|
| 1. Rinse | HydraClean 360 | Flush the internal area with clean warm water. | Removes loose residue before it dries inside. |
| 2. Clean | Sex Doll Cleaning Sponge Brush | Gently clean areas with leftover residue. | Helps remove buildup without harsh scrubbing. |
| 3. Drain | No special product needed | Let extra water flow out before drying. | Prevents drying tools from becoming soaked too quickly. |
| 4. Surface Dry | Microfiber Doll Drying Towel | Gently wipe the outside surface. | Removes surface water without rough rubbing. |
| 5. Absorb Internal Moisture | MicroFlock Tunnel Dryer | Use after draining to absorb hidden moisture. | Pulls moisture from the internal cavity before airflow drying. |
| 6. Airflow Dry | Internal Drying Device | Use after absorption to move air through the inside. | Helps dry areas that cloth cannot reach. |
| 7. Final Dry and Check | ThermaCore Heating Rod | Use only after absorption and airflow drying. | Helps reduce trace moisture left behind. |
7-Step Cleaning Process and Products
-
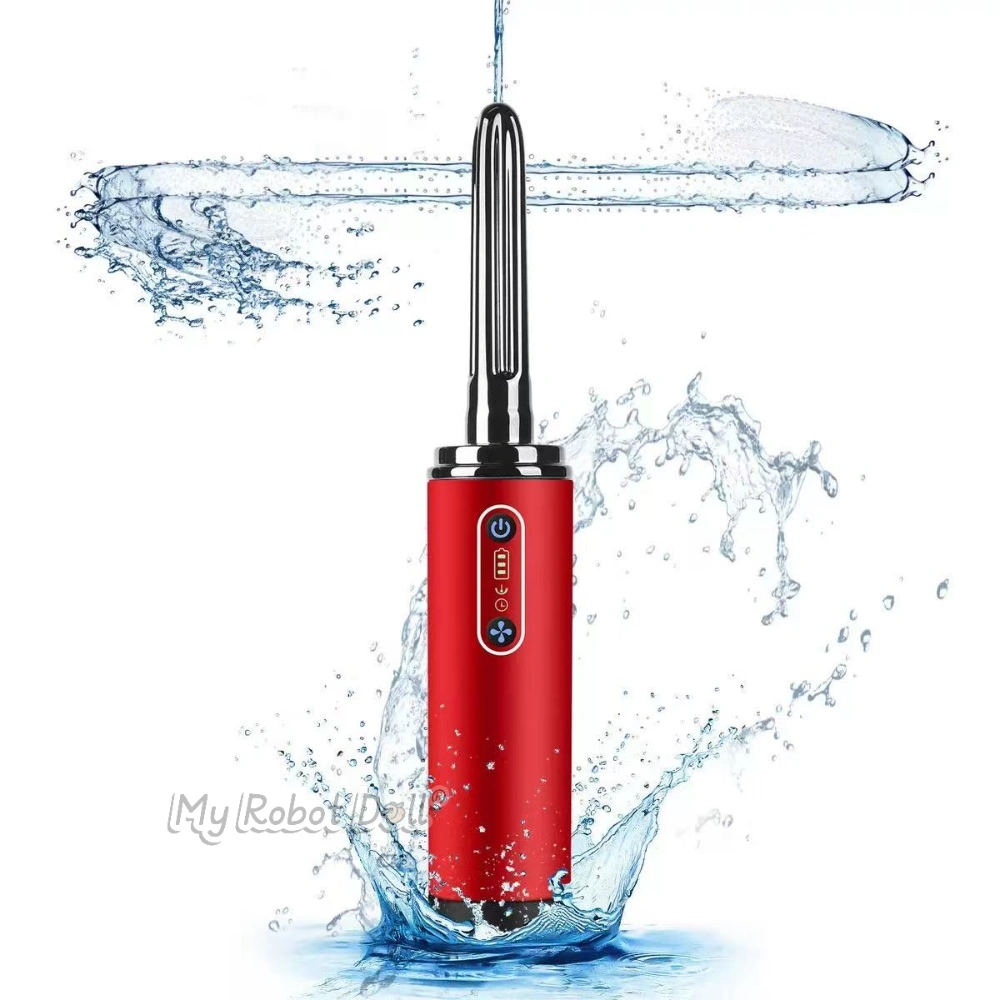
1. Rinse the Internal Area
Start by rinsing the internal cavity with clean warm water. This helps loosen residue before it dries or causes odor.
-
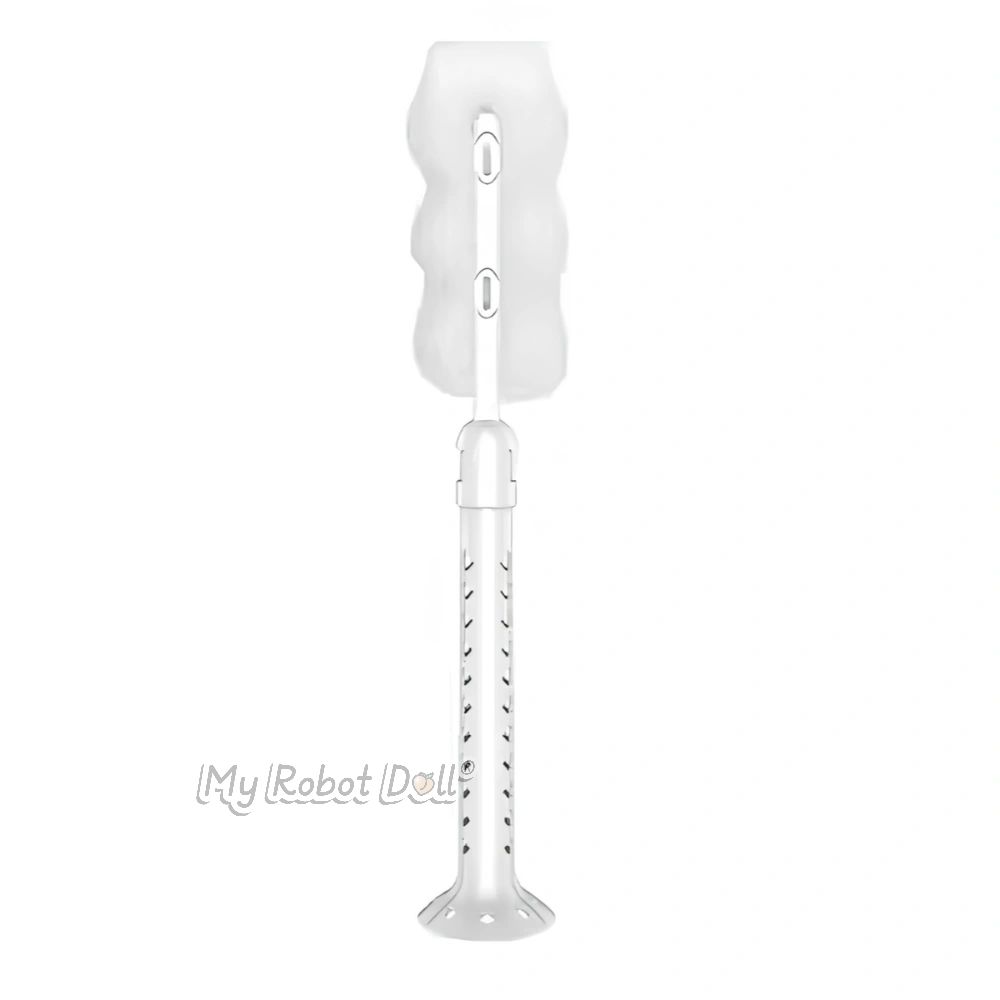
2. Clean Leftover Residue
After rinsing, gently clean any areas where residue remains. Do not scrub too hard, especially on delicate surfaces.
Product to use: Sex Doll Cleaning Sponge Brush
Best for gentle residue removal after rinsing.
Shop Sponge Brush -
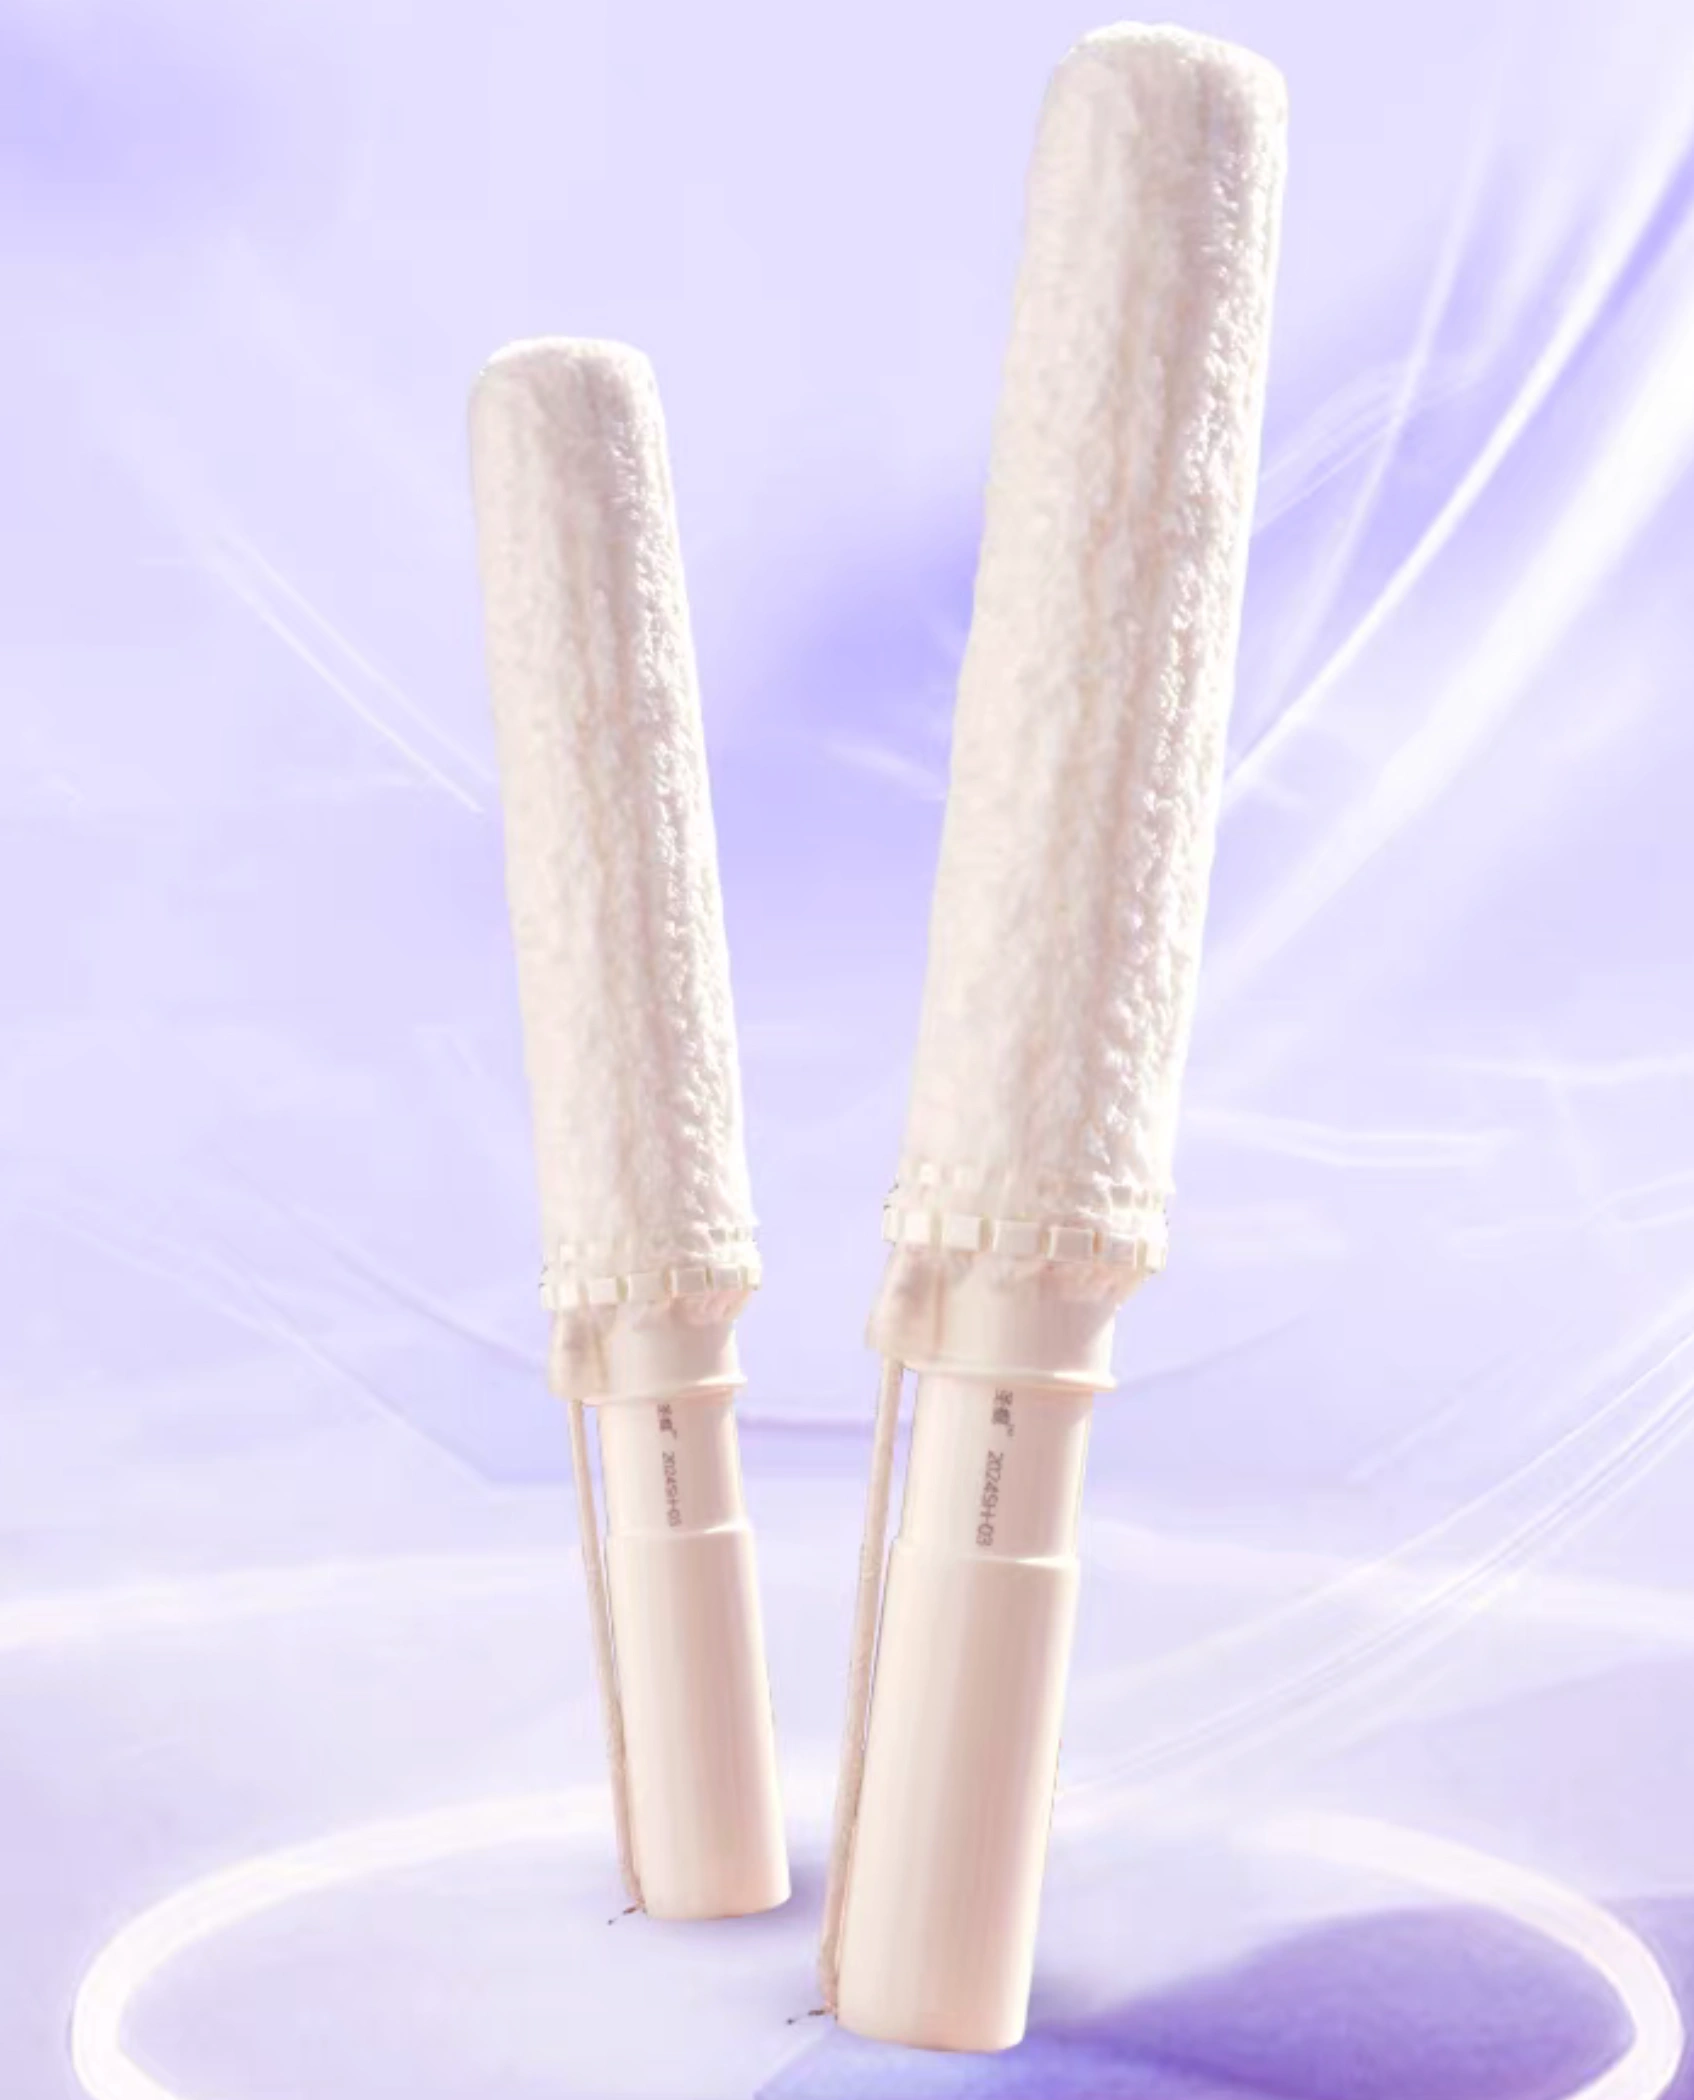
3. Drain Extra Water
Let extra water flow out before using any drying tools. This simple step makes the drying process faster and more effective.
Product to use next: MicroFlock Tunnel Dryer
No tool is needed for draining, but MicroFlock is the next product to use after excess water is removed.
Shop MicroFlock Dryer -
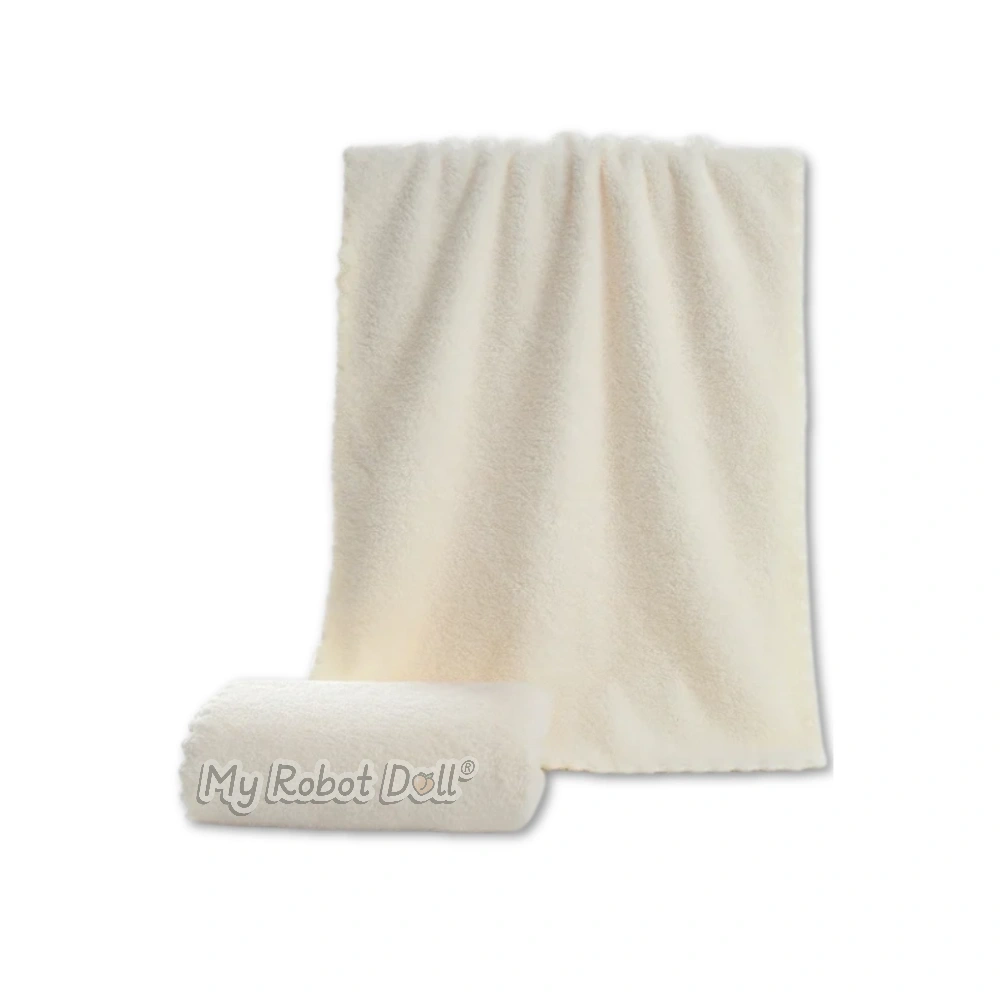
4. Dry the Outside Surface
Once extra water has drained, gently wipe the outside surface. This removes surface moisture before you focus on internal drying.
Product to use: Microfiber Doll Drying Towel
Best for soft surface drying without rough rubbing.
Shop Microfiber Towel -
5. Absorb Hidden Internal Moisture
After draining and surface drying, use an absorbent internal drying tool to pull out moisture that may still be trapped inside.
Product to use: MicroFlock Tunnel Dryer
Best before airflow drying because it absorbs hidden internal moisture first.
Shop MicroFlock Dryer -
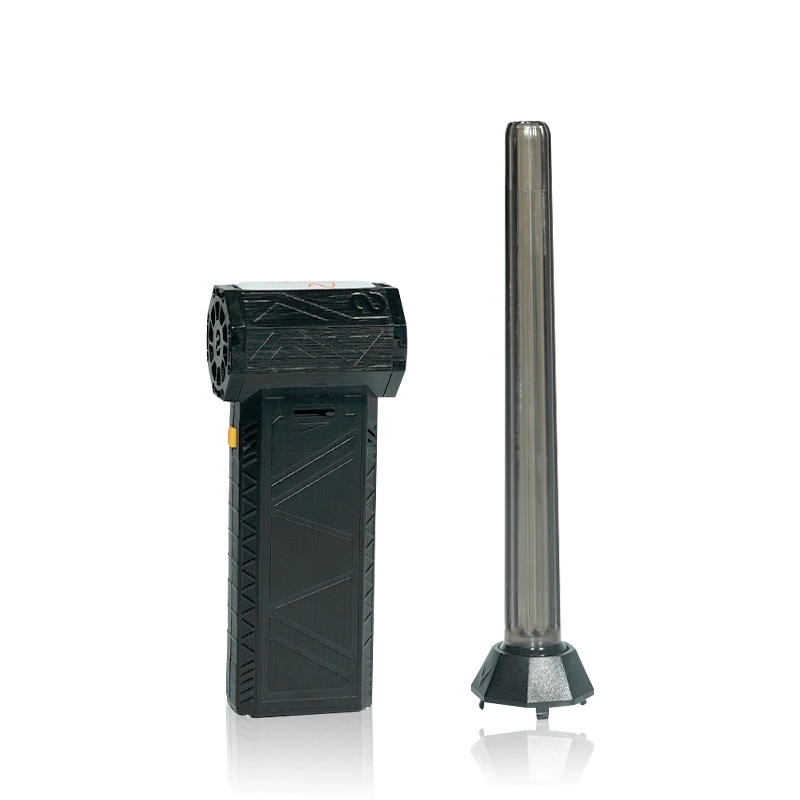
6. Use the Airflow Drying Process
Once excess moisture has been absorbed, use airflow to dry the internal cavity more completely. This helps reach areas that towels cannot reach.
Product to use: Internal Drying Device
Best for moving air through the inside after moisture absorption.
Shop Internal Dryer -
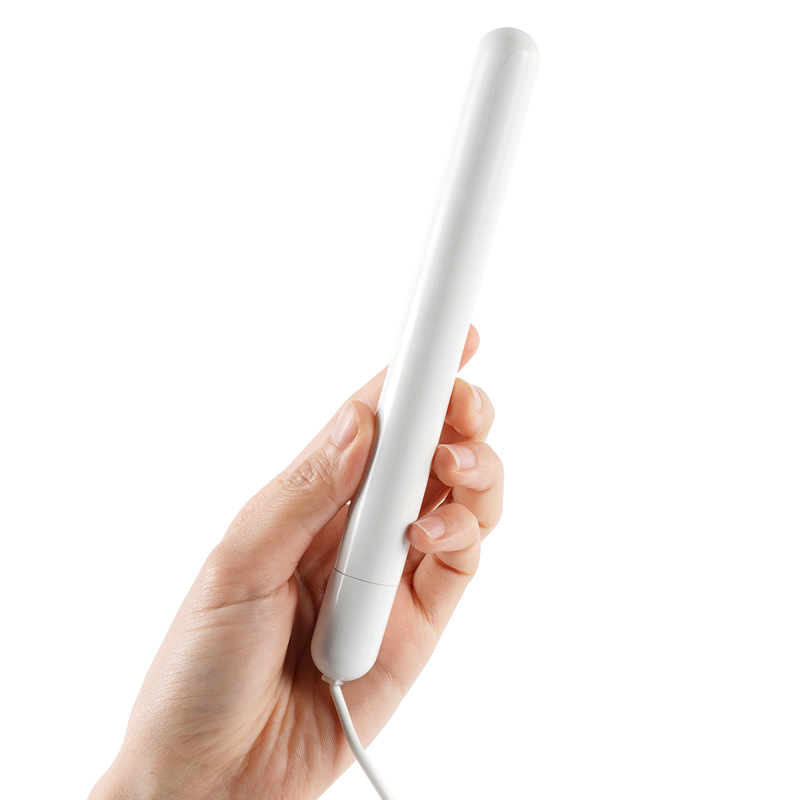
7. Finish Drying and Check
After airflow drying, finish by checking for odor, dampness, cool humid spots, or leftover residue. Use final drying only if needed.
Product to use: ThermaCore Heating Rod
Best as the final drying step after absorption and airflow drying.
Shop ThermaCore Rod
Cleaning Process Video
Watch this video for a simple visual guide on cleaning and maintaining your product properly.
Warning Signs to Watch For
Mold prevention is easier when you notice early signs. A musty smell, unusual stain, sticky texture, or damp feeling after cleaning can mean moisture is still present.
- Musty or sour odor after cleaning
- Dark spots or unusual marks
- Sticky areas that do not improve
- Dampness after normal drying time
- Residue or slippery texture
- Cool, humid feeling inside after drying
Common Cleaning Mistakes That Can Cause Mold
The biggest mistake is stopping after rinsing. Rinsing removes residue, but it also leaves water behind. If that water is not removed, mold risk increases.
- Leaving the inside wet after cleaning
- Skipping the draining step
- Using only a towel when the inside needs airflow
- Leaving a drying stick inside overnight
- Using heat before absorption and airflow drying
- Rushing the final dryness check
Helpful Mold Prevention Resource
For more general information about mold, moisture, and prevention, you can read the CDC guide to mold. This supports the same key idea: moisture control is the most important part of preventing mold.
Final Cleaning Checklist
- Use HydraClean 360 to rinse the internal area with clean warm water.
- Use the Sex Doll Cleaning Sponge Brush to clean leftover residue gently.
- Let extra water drain before drying.
- Use the Microfiber Doll Drying Towel to dry the outside surface.
- Use MicroFlock Tunnel Dryer to absorb hidden internal moisture.
- Use the Internal Drying Device for airflow drying.
- Use ThermaCore Heating Rod only as a final drying step when needed.
- Check for odor, residue, dampness, and cool humid spots before finishing.
FAQs About How to Prevent Mold Inside a Love Doll
What is the correct cleaning order?
The best order is rinse, clean, drain, surface dry, absorb internal moisture, airflow dry, and finish with a final dryness check.
What product should I use for the rinsing step?
Use HydraClean 360 for the rinsing step. It helps flush the internal area with clean warm water and remove residue more evenly.
What product should I use for cleaning residue?
Use the Sex Doll Cleaning Sponge Brush for gentle residue removal. Avoid harsh scrubbing because it may stress delicate materials.
What product should I use for airflow drying?
Use the Internal Drying Device for the airflow drying process. It helps move air through the internal cavity and dry areas that towels cannot reach.
Do I need more than one drying tool?
Yes, it helps. A towel handles surface moisture, a tunnel dryer absorbs internal moisture, and airflow drying removes what remains.
Can I leave a tunnel dryer inside overnight?
No. A saturated drying stick left inside too long can hold moisture in a closed space. Remove it after use and let it dry separately.
When should I use the heating rod?
Use the ThermaCore Heating Rod after absorption and airflow drying. Heat should be the final drying step, not the first one.
Why does odor appear even after cleaning?
Odor usually means residue or moisture remains inside. Repeat the rinse and drying process more carefully.
Conclusion
Knowing How to Prevent Mold Inside a Love Doll comes down to following the right order every time. Rinse with HydraClean 360, clean residue with the sponge brush, drain extra water, dry the surface with a microfiber towel, absorb hidden moisture with MicroFlock, use the Internal Drying Device for airflow drying, and finish with ThermaCore when needed.
When each step is clear and paired with the right product, the routine becomes easier and more effective. The goal is simple: remove residue, remove moisture, and never let dampness stay trapped inside.